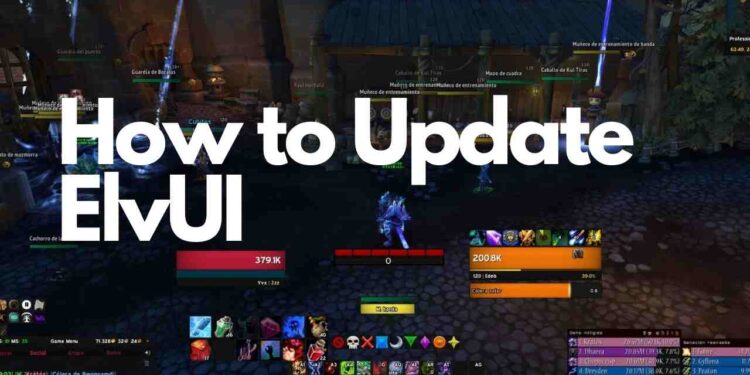
This is a follow up to my previous article about the installation of Elvui, basically if I can install it so can you.
Updating an addon is just like installing it:
1) Download the Addon and extract it.
2) Then move the addon folder(s) to Interface/AddOns/
3) use the Tukui Client (highly recommended as some folders may not exist otherwise).
4) It is recommended that you remove the old addon folder(s) first to prevent lingering files causing issues.
5) Updating addons will not cause settings to be lost, as all settings are stored in the WTF folder. For this article we’ll put on some addons and update them one at a time.
Let’s get started…
Launch the game, log in to Elvui and type “/reflux switch eluvu” without quotations obviously. The addons we’ll be updating are:
1) AdvancedInterfaceOptions
2) BigWigs
3) Cartographer
4) Dominos (ElvUI addon must be disabled if you have it enabled because it conflicts with Dominos position bar slider feature.)
The pictures below show each step for updating your addons. We’ll start with AIO first; this is what the default interface should look like after it for this article:
Open the AddOns menu and go to Interface/AddOns:
Highlight the AIO folder and right click it, select: Send To… Then: Desktop (create shortcut) so we can easily get back to the original state of Elvui if needed.
Now on Desktop right click on the new AIO shortcut icon that was created and select Properties: tab General tab -Type in or Browse to what you want as your icon’s name for this icon shortcut (that will be easier than renaming). tab Compatibility -check Run as Administrator. Click OK .
Right click on the icon again and pin it on the taskbar for easy access later. Next we update BigWigs; make sure you have it enabled in Elvui.
1) Open the AddOns menu and go to Interface/AddOns .
2) Right click BigWigs and select Remove .
3) Now download BigWigs from http://www.wowinterface.com/downloads/info24093-BigWigs.html
4) Extract the downloaded file, rename the folder “BigWigs” so that it will be easier to find later on.
5) Move this newly renamed BigWigs folder to your desktop or somewhere else for easy access like your Documents Folder (for example).
6) Once extracted, drag and drop (or if you used your desktop, cut and paste) the “BigWigs” folder to interface/AddOns .
7) Go back to the AddOns menu from step 1.
8) Right click on BigWigs and select Enable .
9) A window will pop up hit Yes, enable it now .
10) Once done enjoy! Here is what the default Elvui should look like after this:
Now on to Cartographer; make sure you have it enabled in Elvui first.
1) Open the AddOns menu and go to Interface/AddOns .
2) Highlightographer and right click it, select: Send To… Then: Desktop (create shortcut) so we can easily get back to the original state of Elvui if needed.
3) Now on Desktop right click on the new Cartographer shortcut icon that was created and select Properties . tab General -Type in or Browse to what you want as your icon’s name for this icon shortcut (that will be easier than renaming). tab Compatibility -check Run as Administrator. Click OK .
4) Right click on the icon again and pin it on the taskbar for easy access later.
5) Next open up WTF/Account/YOURACCOUNTNAME/SavedVariables . Delete ALL files that are named “Cartographer” .
6) Now go to the newly created Cartographer icon shortcut that was made on your desktop or where you selected, right click it and select Properties. tab General -Type in or Browse to what you want as your icon’s name for this icon shortcut (that will be easier than renaming). tab Compatibility -check Run as Administrator. Click OK .
7) Right click on the icon again and pin it on the taskbar for easy access later.
Here is what Elvui should look like after this:
Finally update Dominos by following these steps; make sure you have Dominos installed in general addons (and not elvui addon) in order to work correctly!


order priligy online Antitumor effects of a novel chromosome region maintenance 1 CRM1 inhibitor on non small cell lung cancer cells in vitro and in mouse tumor xenografts